Showing posts with label dim. Show all posts

Wednesday, June 13, 2012

party decorated in 2 hours


well, my nieces are in town and their birthdays just past. they were expected home from the water park yesterday and due to have some family over at my mom's house for some cake and ice cream. the horror to my ears knowing there wasn't going to be any kind of decorations... i had to put together a couple things. i didn't spend any money, just used things i had at house and had a friend come over to hang out with laken while i got a couple things together.

if you'd like to try any of these simple crafts out just to spruce up a dinner party or celebration, i hope you find these tutorials helpful.

Pinwheel

Photobucket Photobucket

Photobucket

Photobucket

with the desired inside-pattern of the paper facing to you, you will choose a corner of scrapbook paper and push the brad through the punched hole coming from the backside of the paper. you'll have to pull it towards the middle and bring the other edges going clockwise or counterclockwise into the brad. (these will layer underneath the first edge).

Photobucket Photobucket
i used different lengths in size dowel rods to position them in the vase better. i used marbles for the bottom, but you can get creative with your vase... just letting you know how to make a pinwheel.

Bunting Flags

Photobucket

Photobucket

you will then take your twine and tiny cloths pins and pin the triangles. pick a pattern if you're using different colors/patterned triangles. i spaced mine about two inches apart. you can make a more permanent bunt by using thin ribbon, painters tape, and a sewing machine. the only thing you'd do different is tape the triangles in place on the ribbon and then run a straight stitch through the ribbon and then remove the tap. (the tape will be sewn too, but you'll remove it.. be careful when removing it too - don't want to tear the paper).

Napkin Holder

Photobucket

i decided to make this this way because wrapping the silverware wasn't looking too good with the way the napkins themselves were folded out of the package. Photobucket
then you stuff the envelope with the napkins, fork, knives, spoon... chopsticks, whatever! :)

Tuesday, May 29, 2012

our room. :)

I know it is tradition for mom blogs to post pictures of the babies nursery. well, i am sharing my room with my little baby boy... so i wanted to share OUR room. I have completely changed this room from how it looked before Laken. it was green and orange and had little birds here and there. when the x moved out.. i decided that it was time to give a face lift to my entire place. so i have decided that i will share my whole house with you, but in segments.

BEFORE


and this 2nd one is during. my brother tore down more wall to make opening of my closet bigger. very sweet of him.

and now here is AFTER:

Photobucket
that little thing on the bottom right corner is a co-sleeper where laken has been sleeping. during the day he'll sleep in his crib or the pack-n-play at nana's.

Photobucket
thats little man's hospital picture. i couldn't be the mom that didn't get the hospital picture. the character was made for us in san antonio when he was a little over 2 weeks i think.

Photobucket
bed spread from urban outfitters.

Photobucket
just to show his side and my side... however we collide. the black and white stripe pillow i made. i saw a picture online and had to do it.

Photobucket
lake's corner.

Photobucket
world map is the art piece in the back that i made. i also made the little airplanes that are floating. i saw a picture on etsy while searching for mobiles. it was one of the last things i did... i was scary close to my due date so i didn't want to risk ordering it and getting it after his arrival... so i made them myself. i also made him his blanket that is hanging on the side of the crib. i ordered the fabric online... i wanted something to match my spread.

Photobucket
the things i made for him.

Photobucket
the new closet. instead of putting doors up i decided to use curtains... less noise while the baby is sleeping and to give us more room (so the doors wouldn't hit the crib). i like the way it looks.

Photobucket
the middle picture frame is going to be changed out eventually... i made a print that i turned out not particularly liking so i just put this filler in. however... the saying is so true. the picture to the right of it i was going to put in my living room and replace it with the picture of lake and i at the hospital.
i broke down and bought the sophie the giraffe. i hope he loves it as much as mommy's say their children love it.

well that is all folks! there is actually one more wall. well its more a quarter of a wall, but it isn't quite finished... once i get that project going i'll be sure to post it up here.

laken has started to get in a better with semi-self soothing. i've been able to put him down and he has been able to take that time for himself without fussing. i just got back from austin today, and i hope that we can start working in a routine. i don't expect him to follow it, but i just want to start slowly establishing one. and in that routine will be more time spent with my blog and reading others. i miss doing that. i miss you guys who still do follow me. until next time. good night. :)

Wednesday, April 11, 2012

nesting or resting?


i guess i get the two of those things a little confused! i have feet the size of an elephant and i should be propped somewhere with my feet touching the sky above my heart, but do i do that? it lasts about 20 minutes, until i have to get up and do something my own self. that has just how this whole pregnancy has been, and i wouldn't know it any other way.

i don't have an amazing easter post filled with pretty little things i've made, eggs i dyed, or the goodies i found... but in preparation of the family that was going to be coming to town i did do a little last minute nesting.


i have been wanting to make a wreath for a while. of course you see the really cute ones on pinterest and i have just kept them in mind when i go to the craft stores. i finally walked by the tubing for a wreath, bought it, and definitely didn't come home straight away to work on it. however, about 3 weeks later.... i did. :)

i am not that great at reading directions i follow, but i do always use visuals.
here is how the flowers were made... i figure the rest of self explanatory.


i cut fabric into a "thick ribbon" to wrap around the wreath base. about 2 1/2 inches thick. used glue gone to hold ends in place.
the bunting was just triangles hot glued onto a thin strip of felt.
i hot glued the flowers in place as well.
ribbon tied on top to hang.

:)

Friday, March 30, 2012

t-shirt scarf


Photobucket


this was simple as pie. i really admire these scarves i've been seeing on pinterest and i decided they are probably not going to be hard to make.. and i wanted to see if i actually like the way they look on me. my mom gave me an old t-shirt and voila... scarf. :) i'm thinking about selling these on etsy. get creative and do different things to them. i DID say that i wanted to sell things on etsy (in my 25x25), so why not?!

Photobucket


Photobucket


I'm sure it would look a ton better on someone who didn't have a pregnant belly, but you get the idea.

Sunday, March 18, 2012

DIY nursing covers

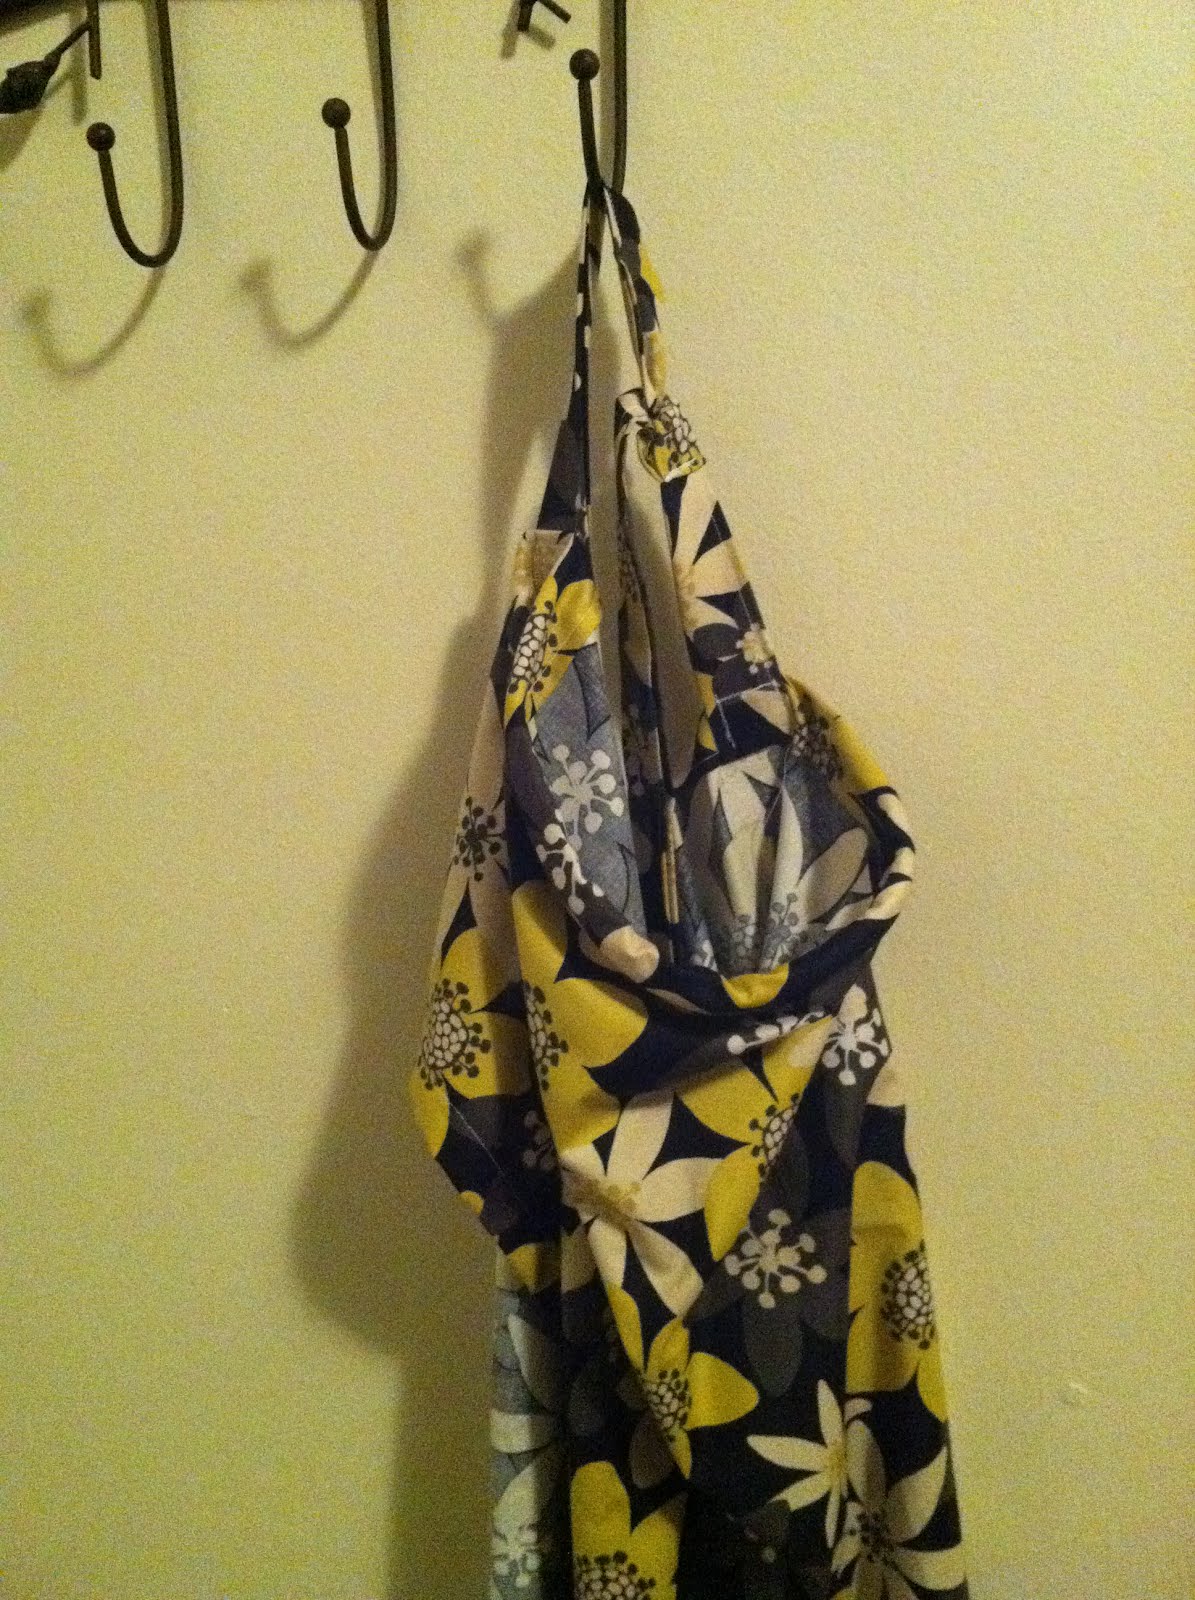
nursing covers are basically backwards capes... and why wouldn't they be? you're basically a superhero to your little baby who you've given life and are providing nutrients to. you, being as awesome as you are, you deserve a cape superhero!


i registered for nursing covers.. and i never got 'em. i understand completely though. most of the time girls give up on breast-feeding and who wants to buy a $35 "sheet" for something that is more trial and error than anything.
well... i am determined to breast-feed. i am going to try till my hearts content. anyhow, i am a VERY VERY modest person. sometimes its disgusting how uncomfortable i can be about things. anyway, when i didn't receive a nursing cover i was totally fine with making one myself. i googled how to do it and stumbled upon prudent baby's DIY Nursing Cover. i am not much of a reader when it comes to instructions, but i didn't really need to with the pictures they provided. instead of using the "boning" (which i got a funny look when i asked the fabric lady at walmart- but then again... i did only go to walmart) i took it back old school style and used pipe cleaner! i used four ands twisted them together to make the 14" i think the instructions called for (again... didn't really read). i am pretty excited with how it turned out. i bought another kind of fabric to make another, but these days... i favor naps on my spare time (which is limited).

Friday, February 17, 2012

Nana's Survival Kit


I was wracking my brain for what to get my mother for my baby shower last week. I wanted to make sure that she felt special as well because as a single mom, i will be needing my mom to help me! she is sort of "expecting" too. I was looking up all kinds of survival kits and i mixed ideas together and came up with this...

i bought a storage box from target. it was real cheap, under $5.
i attached a card to explain the contents. i was running out of time so i used a template off of word that was for a thank you card or something. instead of making it a folding card i glued the front and back together, punched a hole and tied ribbon through it to the gift bag. (not shown)
anyway, it reads:
"we are in for a ride and i know you'll be there by my side. this kit will help you help me, because we all know how difficult i can be. in here you'll find some marbles in case we lose any of our own, a candle so you can be my guide, rubber bands to help you stay flexible, tissues for cleaning up those little messes, tooties rolls to remind you of the important "roll" you play, 2 pennies so you'll have enough "cents" to realize how valuable you are. when those things wont get your through a baby sitting session, i have also included 2 pacifiers, 2 handmade burp clothes, extra change of clothes, baby bath, nana's special baby powder, wipes, band-aids, adult ibuprofen, and a tide stain-remover pen. get ready nana... laken is coming!"

i used scrapbook stickers to label the kit: "nana's survival kit" $1 @ walmart.
everything was fairly inexpensive and found in the travel section, baby isles, and just around walmart.


the burp clothes are home made. i used gerbers 3-ply cloth diapers. and followed suit to the ones you will find on google image search "handmade burp clothes." pretty simple.
i found the onesie at walmart for next to nothing and used iron on letters my mom had in her sewing kit.
other than that i didn't go crazy on the pacifiers because babies are a little particular when it comes to those sort of things and i didn't want to spend alot if he isn't even going to use them.


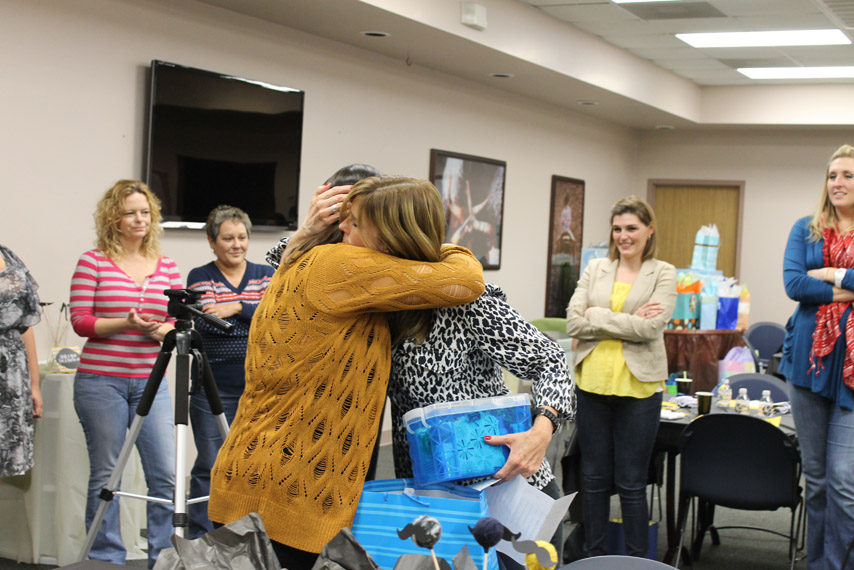
i'm overall satisfied with the gift. i had to read the card to her because she started crying on the first sentence. (wimp..) then i got to the last sentence and balled my eyes out in front of my whole shower! here is that little mother daughter moment.


Monday, February 13, 2012

Little Man Baby Shower! DIY!!


Finally the baby shower has come and went. I still haven't been able to sit down and read all of my cards. (which is making me sad at the moment again!) however, it was on saturday and i really wanted to get the pictures on my computer because for one i am borrowing the camera and two i would like to print them out and send 'em with my thank you cards! i haven't been able to post about my shower, because i wanted to keep everything a surprise from everyone who was coming. i really enjoyed myself, it was overwhelming, but i felt that it went really well! i will always remember my first babies shower and all the hard work that my aunts, mother, sister, grandmother, and myself put into it. here is some eye candy with a little bit of descriptions on where i got the ideas. there are tons of great websites out there that can help you come up with ideas and once you've kind of got an idea... your best friend turns into google! "how to make a cloth diaper" "baby shower table displays" "bowtie napkins" which that one didn't help me at all at all!!

welcome table


I was able to find the tree online. It was originally from a wedding guest book, but i had to have it for my baby shower. i originally wanted me brother to draw me one, but time was ticking so i had to find one online! One Fab Day I took off the heart and added my own type treatment.
my aunt teresa is so creative, (she is the lady that got me into arts and crafts!). She is modest about it now, but she put together the AWESOME bookworm cake! She knew what my theme was and i showed her the book worm i was using... she ran with it and i think it is better than anything i could ask for! She used Styrofoam balls and socks! so awesome!
the letter, which were painted mustard yellow in the beginning were repainted 30 minutes before the shower, by me... in my PJs! I found these letters for cheap at Hobby Lobby!
I love love love my gift idea. I wanted to give a seed something you will watch grow! so it was perfect. Laken will be born in April so we went with the april flower... daisies! I came up with the idea of how i wanted the gifts to look and created the label... i then had my aunt Teresa and my mother put them together! They look amazing! And I think everyone liked the idea.
the table dwindled down as the gifts were given as prizes and the party favors were taken by the guests.


table displays


I was worried the whole time about these table displays. I see on the internet all these fabulous displays with fresh flowers, beautiful candles, and expensive party favors. I was dreading this looking unattractive! I took ideas from here and there. I saw on a shower from bumpsmitten a diaper napkin and i thought that that would be GREAT to put a game booklet in! Although there isn't a tutorial online on how to make diaper displays... my aunt Kathy and I (more so her) figured it out! I think they looked adorable!
As a graphic designer I couldn't just have printed out pass out games... I made a babyshower game booklet! I had to! Thanks to my typography 2 class i was able to learn how to make a book.
the centerpieces were something that i had found online. Yarn on dowel rods. I ordered the mustaches on etsy to make the yarn balls into little man faces! let me just tell you... wrapping yarn on a ball isn't as simple as you'd think. sort of frustrating!

food table


The food was prepared by my Maw Maw, my mother, and my aunt kathy. I wanted it to look great so i made labels for everything. I sat there one night for an hour or two making those little toothpick flags. I cut them and glued them. Took a while for something that is just thrown away, but I wanted them to look cute!
When i was ordering the mustaches for the centerpieces i saw that they also sold straws with mustaches on them... when i had tons and tons more staches left i ended up punching holes in the remaining staches and putting them on bendy straws like the ones they were selling! cheap, easy, fun! the guest loved how they looked like they were wearing mustaches while drinking. too cute!

cravings table


i wanted to be a little funky and have a cravings table.. i kind of went off the wall with this table. i wanted it to be a certain way, but when we got the venue the table was oversized, and the display wasn't as amazing as i'd of liked it to be! I wanted to have little peanuts for my peanut, ready to pop - popcorn, and pickles - because every pregnant girl craves pickes (which i am not one of them). there was also powdered donuts... something i treat myself to every thursday morning before work! i love 'em!
Since we were doing the flower pots as gifts we ran the them into the desert... dirt cake! it was a perfect tie into the worms for the bookworm table!

ABC book making table, as well as book donations


instead of having a wish you well or little paper cut outs, i decided to make an ABC book for both laken and myself. It turned out so great! I loved what people wrote. I bough a scrap book at Hobby Lobby, designed the cover, and tabbed pages for everyone to choose a letter of choice. i left stickers and stencils and instructions for them to follow!
I had a basket of gummy worms that I called "bookworms" for people to take as a little gift for donating/making the book.

onesie table


I have seen onesie making tables done before and they have come out great... we gave it a shot, i wish that i would have provided iron on letters. the ladies grabbed markers from the book table, but they didn't read that they are washable markers! trial and error, basically!
photobooth


I have always wanted a photobooth at my dream wedding... well... i am not getting married anytime soon, and i don't have a budget for one. However i wanted to take the typical pictures of the preggers with the cake and the hosts away and give something for the guests to enjoy as well. I came up with the idea of how i'd like it to look, and since i can't stand up on a chair my sister put the streamers up. real simple, real inexpensive. I borrowed the camera and tripod. I can't believe i still don't own my own SLR camera! I got my cousin jesse to come to the shower and snap pictures when i wasn't able to.
i was my own photographer at my shower with a little help from the two guys that went... but i wanted the pictures to be decent, and bless both jesse's and josh's heart... but the pictures that i didn't take didn't come out so well. lol.

i couldn't of done any of this without the help of my aunts, mother, sister, and maw maw. they are a powerful bunch! and i am very blessed! I am also so grateful for everyone who came and showered laken and myself with such wonderful gifts. it truly is a blessing!!

Tuesday, January 31, 2012

keeping up


i haven't been keeping up with my blog, but have been dying to. the reason why (to both of those statements) is that i have been working on my shower. I have been wanting to post so many things about it and the stuff that i have made, but i am waiting because i don't want anyone to know about it until after it happens. my aunt and mother are throwing my shower but gave me the honor of decorating and doing all that sort of stuff because that is what I LOVE TO DO. I have been having such a great time, and have been real happy and excited. of course i don't really ever have consecutive time work on this project, but spread out through last month of january i have gotten pretty much everything done. here is just a sneak peak... its my invitation that i designed and sent out. i got the idea off of etsy, and i have taken it and ran with it throughout the ENTIRE shower, as well as some of my personal touches. a massive post will come soon after the shower. the picture with the sono was an insert and on the back it explains my "theme" or lack of one.

Monday, January 2, 2012

Deer painting


i have never lived with a guy, ever. never wanted to, not unless i was married. well i did, and when i did... i had to make sure that our home was gender nuetral. well, i bought stuff that was antique that i found to be alright pieces, but now that i am out of that relationship... i want everything that relates to it.. GONE! Green has always been my color, but i needed a CHANGE! i have welcomed the color blue into my life a couple months ago by introducing it to my bathroom... it was the funniest thing i had done to my "homes" in a long time! So i did it for my living room. Its still a work in progress, but here is the "statement" piece i have made for behind the couch. its 30x40 inches. I took pictures to show how i did it, very simple. it started with a small image online that i blew up and printed on 5 sheets of 11x17 paper.

Chalkboard


I have been in love with the "little baby garvin" blog. i found her off of pinterest and fell instantly in love with her beautiful chalkboard. i have always wanted to buy chalkboard paint and paint a wall or a door like my cousin tiffany had done to one of her old apartments. well her beautiful chalk board (which counts the weeks of her pregnancy) made me go out one day this last week to goodwill and buy and old picture and the paint from lowes. although i have been a little too busy to actually write on the chalkboard.. i am really glad i made one!! :) (the flowers i found on a different blog... i used felt and burlap.) I painted the frame a brighter shade of grey and totally covered up someone's hard work. i felt bad, but... i wanted a chalkboard!